
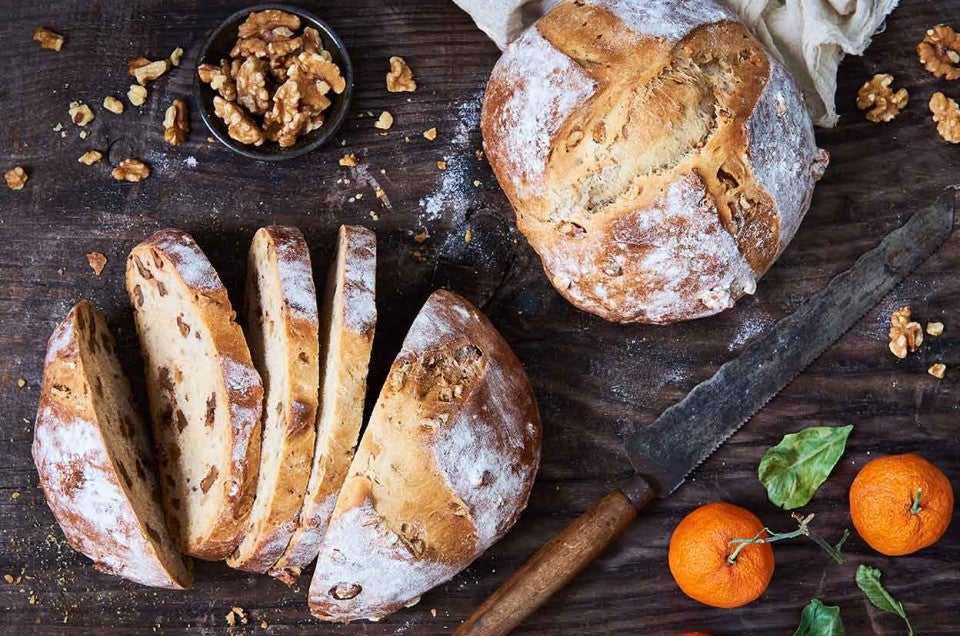
Walnut bread
Original recipe available here
120+
Mins
Serves
8
Easy
Bread
Ingredients
1 1/2 cups (340g) warm water
1 tablespoon (11g) active dry yeast
1/2 cup (170g) honey
1/4 cup (50g) walnut or olive oil
1 1/2 teaspoons (9g) salt
6 cups (720g) all purpose flour
2 cups (227g) walnut pieces, toasted until lightly browned
-
Directions
-
Step 1:
Dissolve the yeast in the water. Weigh your flour; or measure it by gently spooning it into a cup, then sweeping off any excess. Add 1/2 cup (60g) of all-purpose flour and let sit for 10 minutes to give the yeast a chance to get going. -
Step 2:
Stir in the honey, oil, and salt -
Step 3:
Add the remaining 5 1/2 cups (660g) flour, 1 cup (120g) at a time, until the dough has formed a shaggy mass -
Step 4:
Turn the dough out onto a lightly floured counter. Knead the dough, adding flour as necessary, to form a smooth and satiny ball -
Step 5:
Put the dough into a bowl and drizzle with a tablespoon of oil; turn the dough to coat it with the oil. -
Step 6:
Cover the bowl with plastic wrap or a damp towel. Let the dough rise until it is puffy, about 1 1/2 hours -
Step 7:
Gently deflate the dough and knead in the walnuts -
Step 8:
Divide the dough in half and form each half into a ball. Place on a baking sheet that has been lined with parchment or greased and sprinkled with cornmeal or semolina flour -
Step 9:
Cover the loaves with damp towels and let rise until swollen. This will take 30-45 minutes -
Step 10:
Preheat the oven to 350°F; the loaves will burn if the oven is too hot -
Step 11:
Sprinkle flour on top of the loaves, and use a serrated knife to slash a cross in the top of each loaf about 1" deep. -
Step 12:
Bake the loaves for 35-45 minutes, until they are well browned and sound hollow when thumped on the bottom; their internal temperature will measure 180°c -
Step 13:
Put the loaves on a rack to cool, and let sit for at least 20 minutes before cutting